Software Download: Please contact your Adobe rep for the most recent files.
Basic Installation
- To install, you will need to send Adobe the MAC address of the computer(s) where Scene 7 is being installed.
- On the Windows machine where Scene 7 is to be installed, open the Command Line application and type
ipconfig /all– take screenshots of the results. - Open a ticket in the Adobe Admin Console with the screenshot(s), asking for a new license file. Make sure to specify the number of systems represented by the screenshot.
- Convert the text files they provide to
*.regand import them to the system registry. - Install the software as you would normally.
- If the license files are correct, they will appear in the licensing step of the installer.
When in doubt or faced with an issue with Scene7, try to arrange a call with Adobe. Issues are resolved much more quickly over a call than over email.
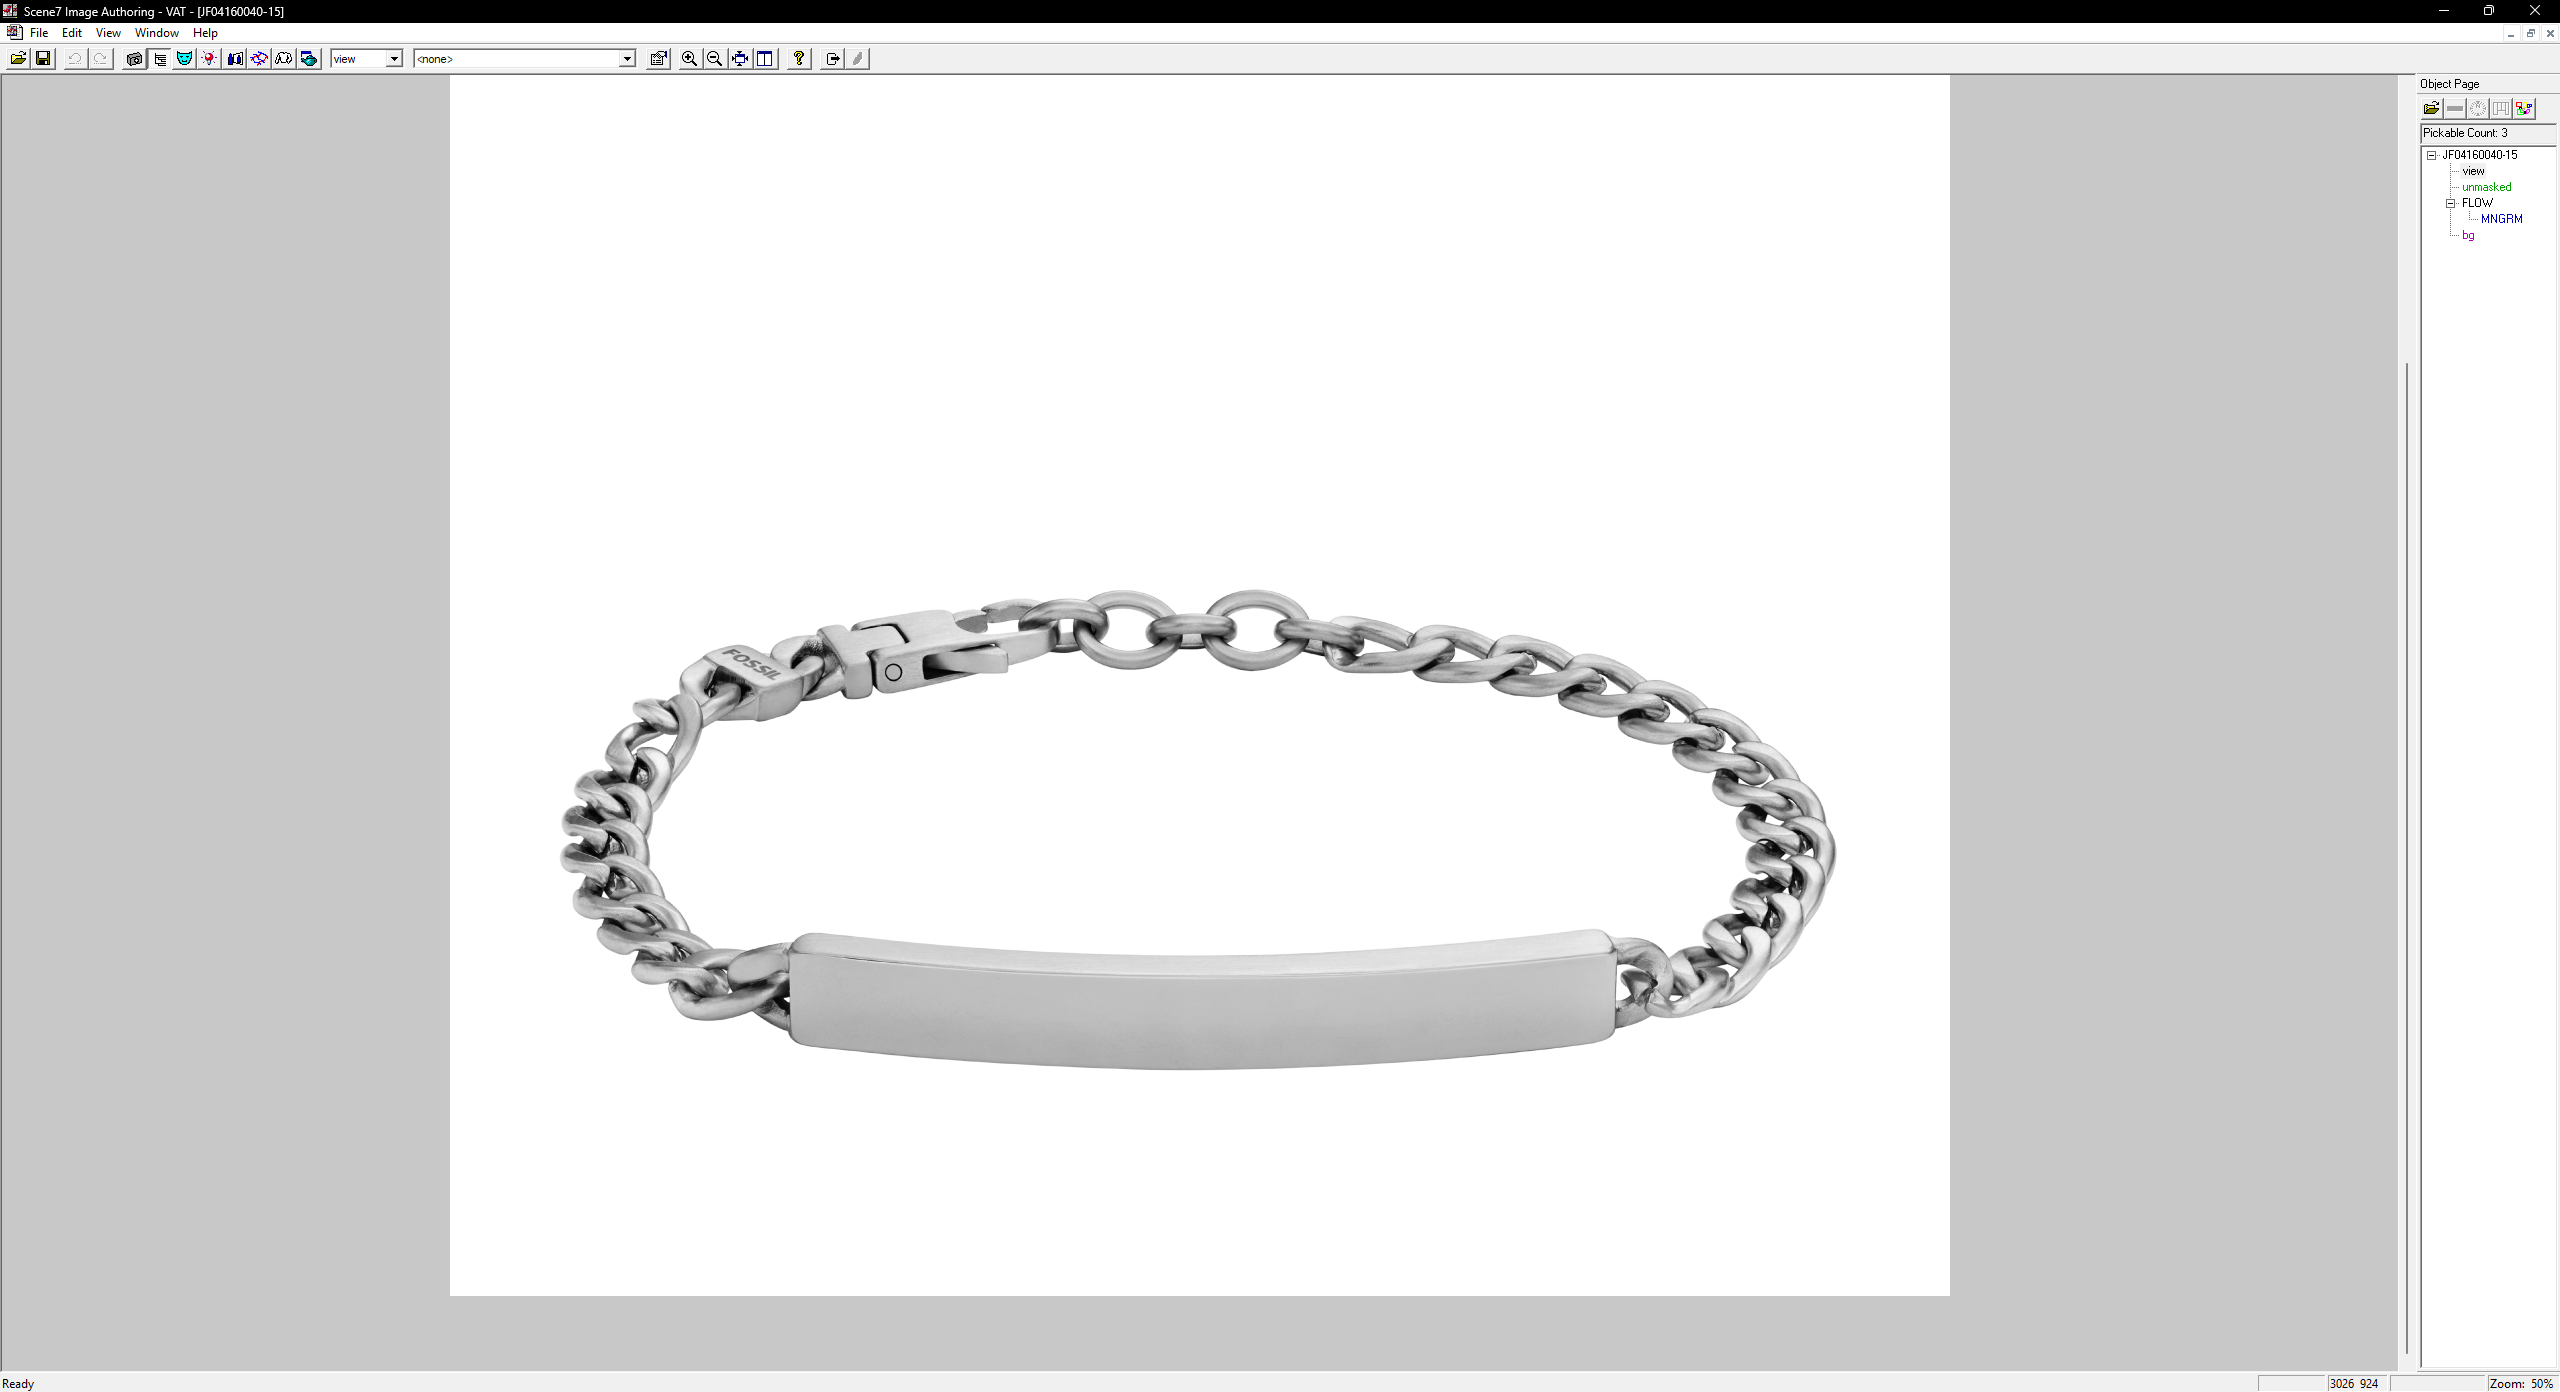
Installing the Test Pattern
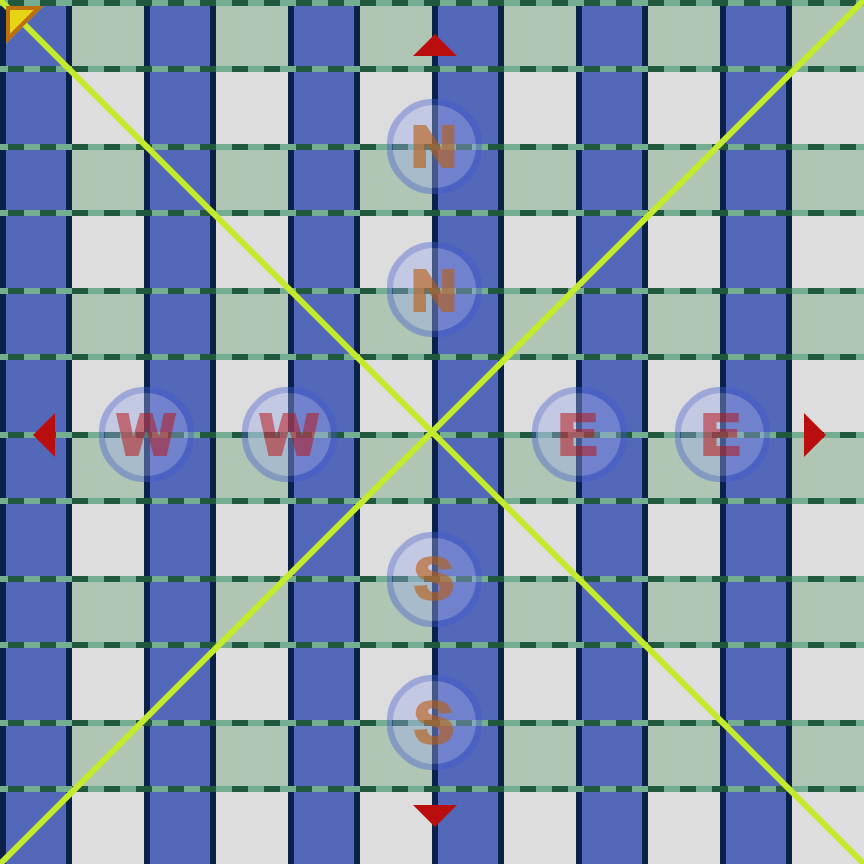
- During my training, Adobe provided me with a handy test pattern to help with alignment. You can download this test pattern from here.
- With a
*.vntfile open, click on theRendericon
- Click on the + icon.
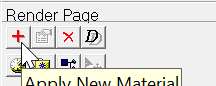
- Browse and select the test pattern file from your local environment.
- Click on the
Materials Historyicon
 . The preview texture should appear in the list located below the icons. Right-click and select “Use As Preview Texture.”
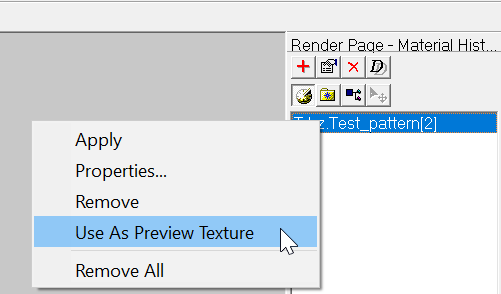
- From now on, the Scene 7 Vignette Authoring Tool will automatically use this texture as your default test pattern.