Image presets are basically a set of static Scene7 URL parameters that allow us to set up how an image will display. At Fossil, we typically use these to control image size, resolution, layer display, canvas size and color, and file format.
As always, be aware that any work you do in Scene7 is being done on a live, production environment.
Getting Started
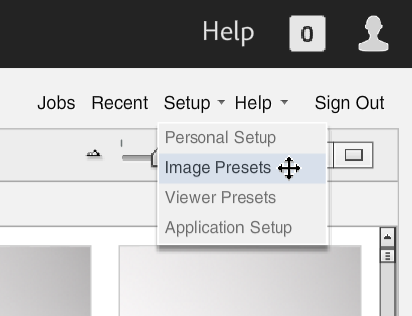
Presets can be found in the upper, right-hand corner of the screen inside the Scene7 web app under “Setup.”
Be sure to note whether you’re in FossilPartners or FossilPartnersRender environments – the listing for the presets are different depending on which section you’re in. Be sure to note this when you’re working.
You will be taken to this screen:
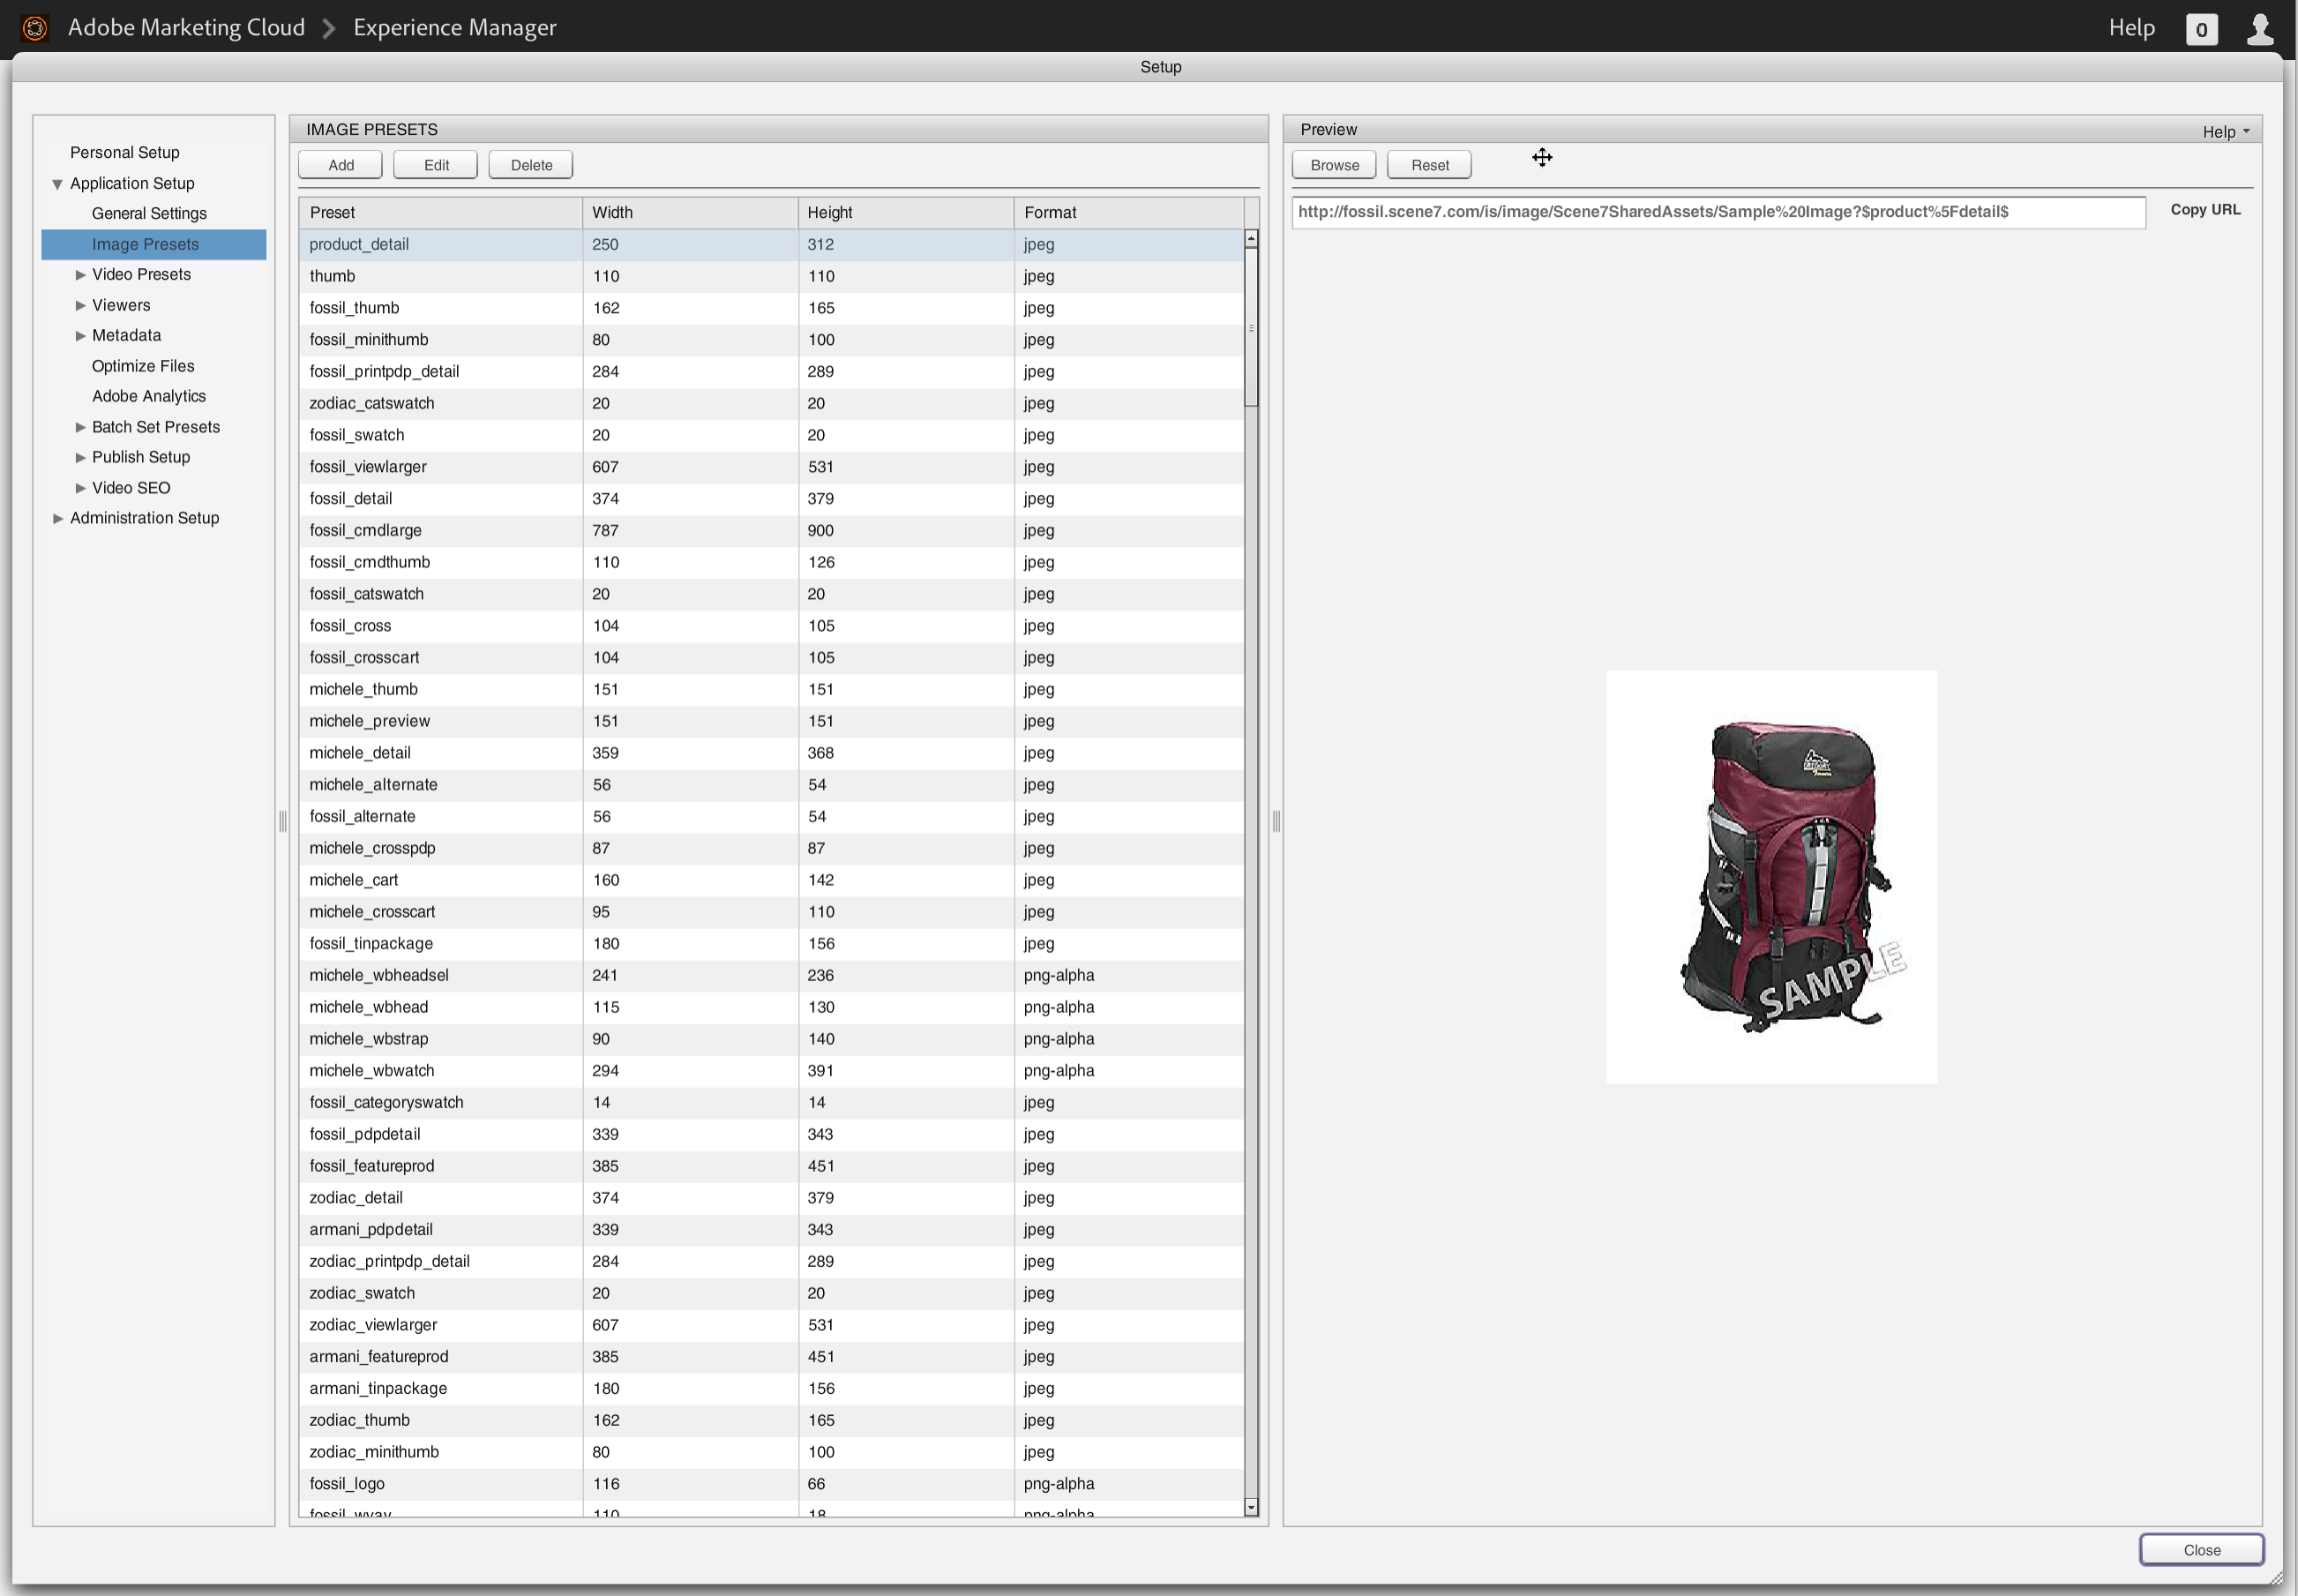
I find it easiest to sort the listing by name to find the preset I’m looking for. You will need to click on your selection and then hit “edit.” (This application is old; double-clicking does not open it.)
In the event I need to edit an existing preset, I like to Save As… and create a new one to work with so I don’t risk anything in production. Be sure to name your working copy something distinctive (and not close to something live) so you can find it easily.
Since the one pictured is the one I’m currently working on, I’m good to go.
Editing the Preset
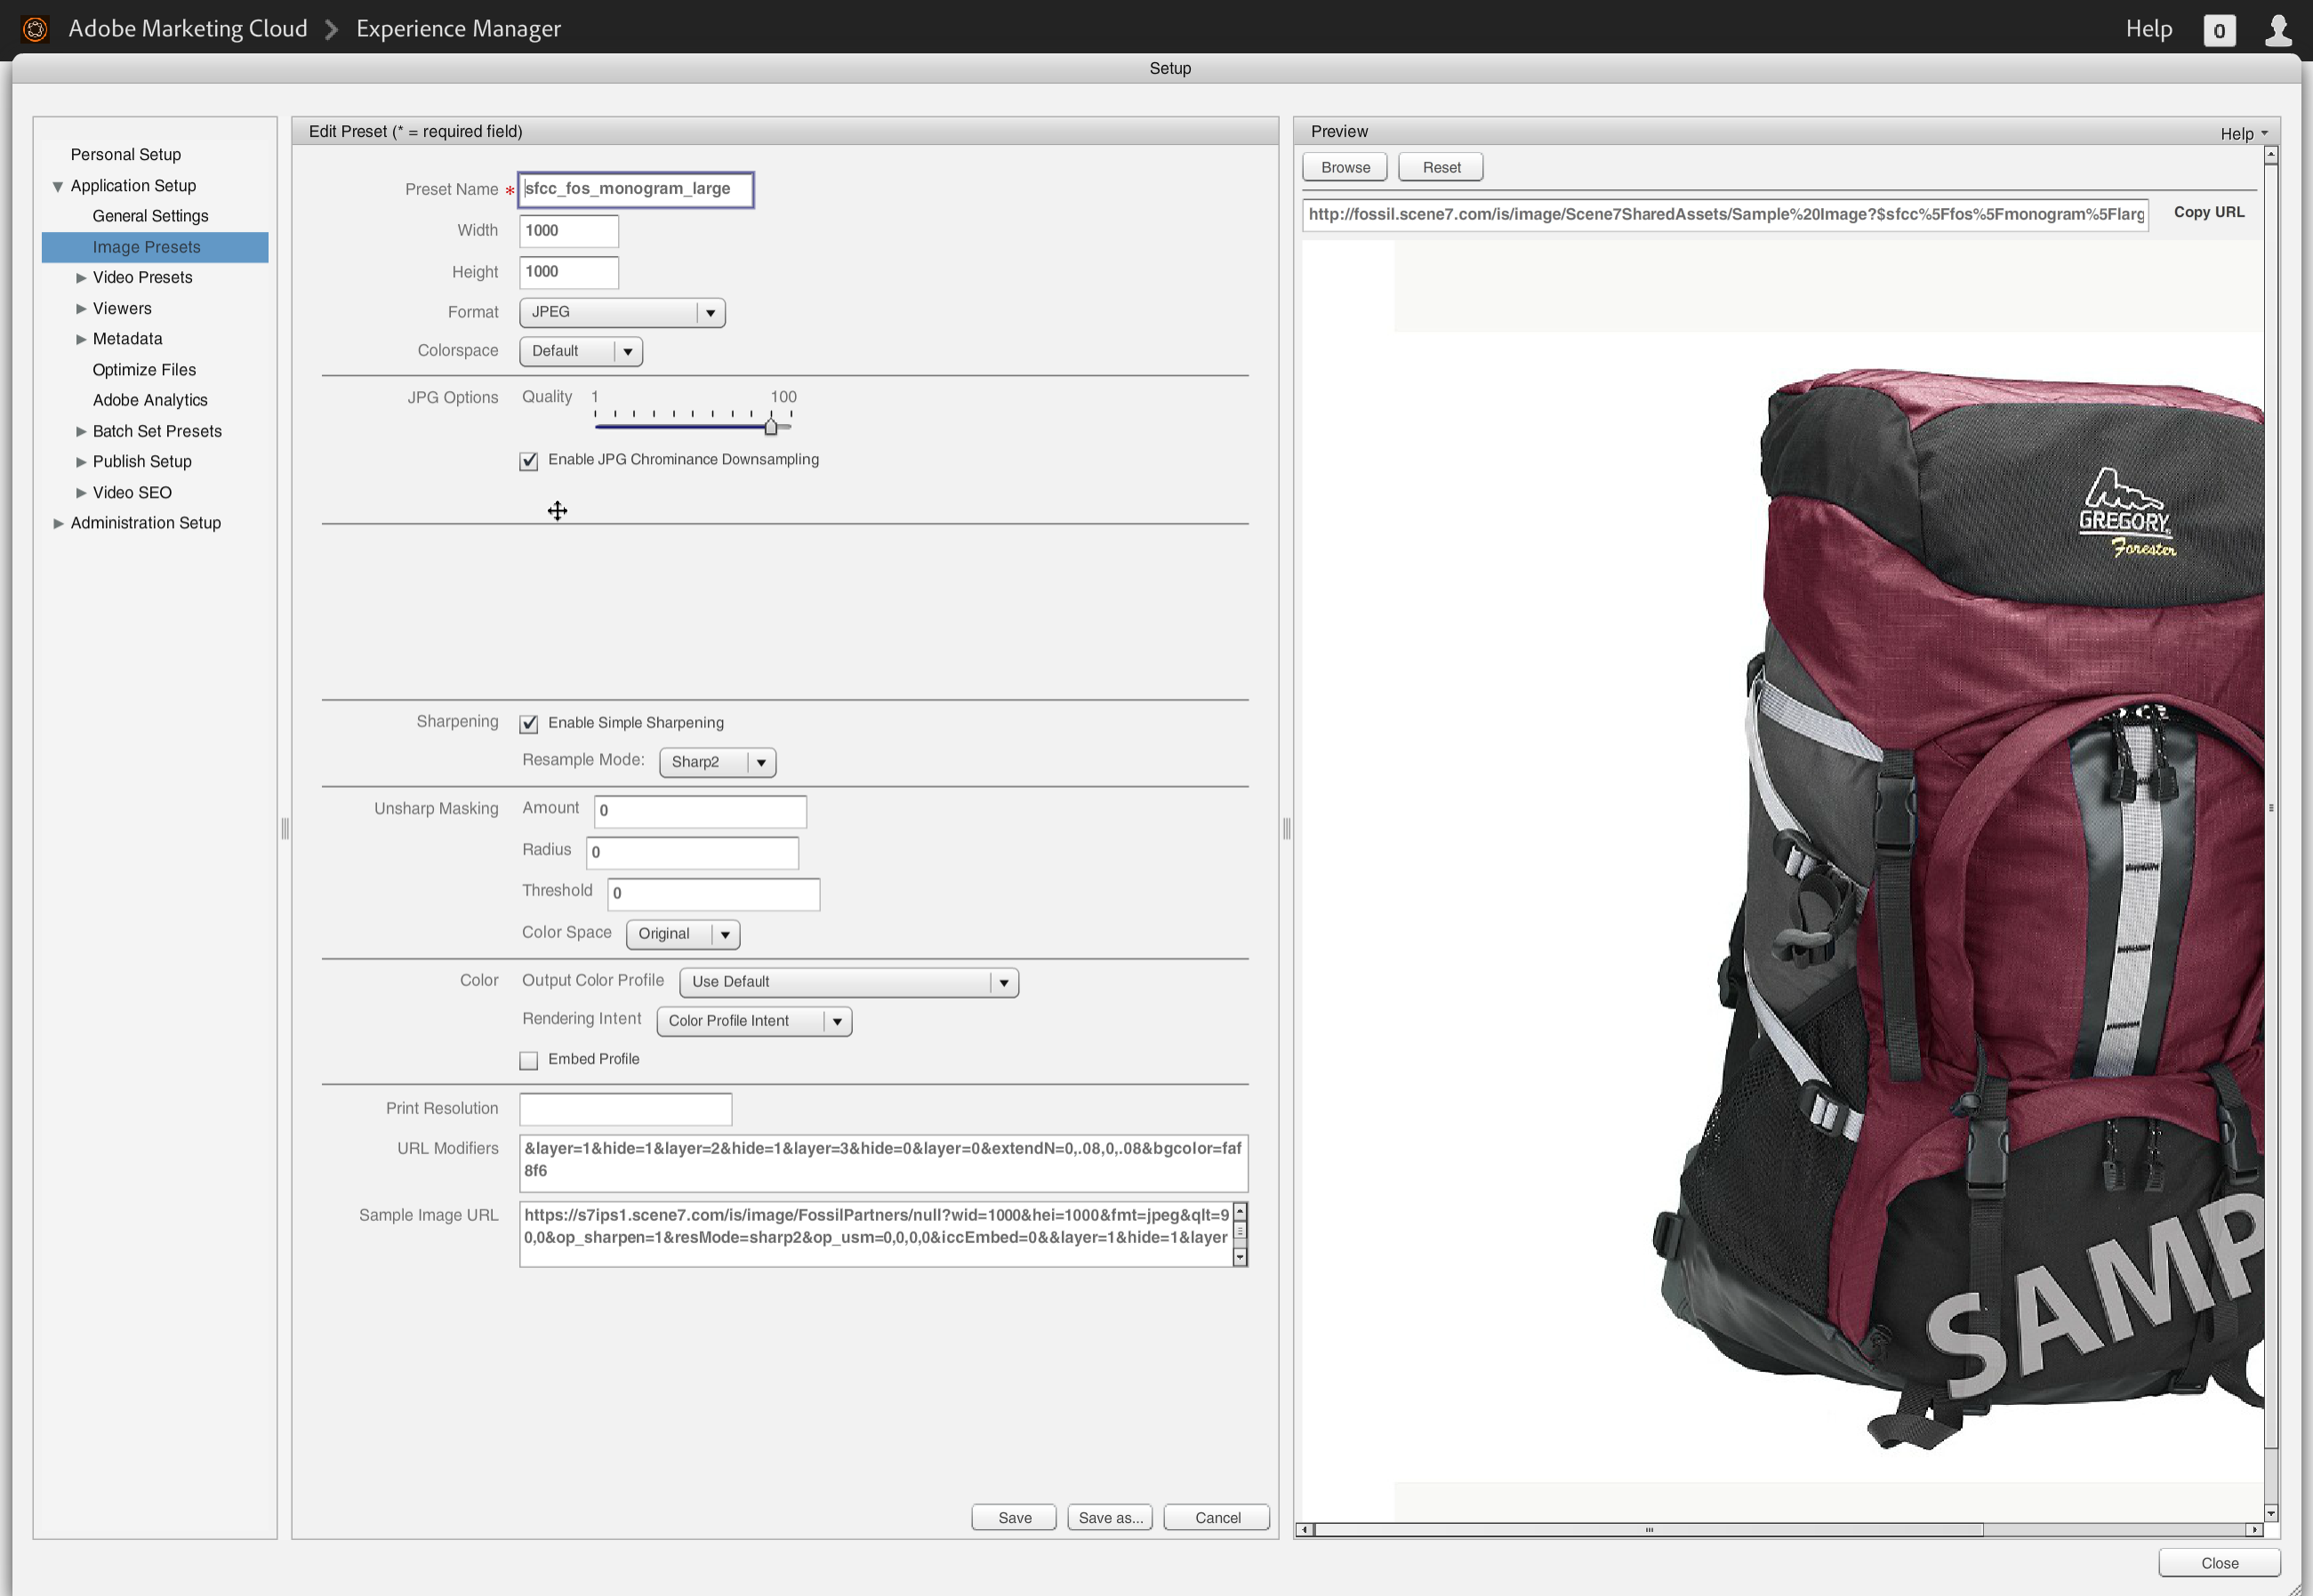
I’m going to warn you right away, the Preset Editor screen does not like to save. I would suggest you put your work in some kind of text editor – you may need to redo your work several times before it “takes.”
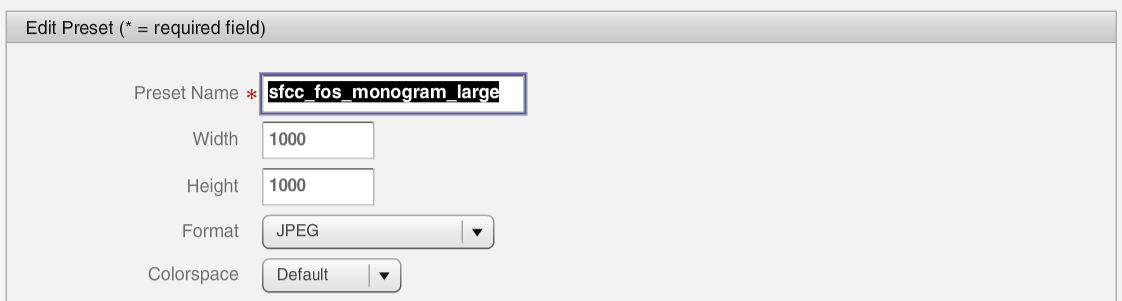
Most of the first section is pretty self-explanatory. The width and height controls will change the size of the output image when this preset is applied. For the most part, we use *.JPEGs for most Fossil projects, though you might need to change this depending on your needs. Colorspace will allow you to swap between default, RGB, or grayscale.

The next sections change depending on what you select for your file format. Since we mostly use *.JPEGs, I’ll cover this format. The quality lets you adjust the image quality/compression ratio. JPG Chrominance Downsampling removes contrast and lighting information most humans won’t notice or be able to see.
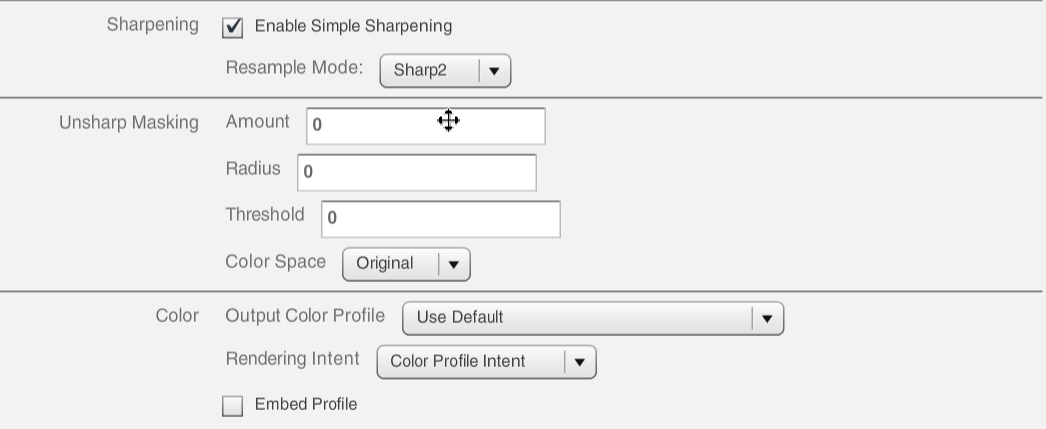
These are another set of sections that are mostly left alone for most Fossil projects. These add Sharpening filters, Unsharp Masking, or alters the Color Profiles. If you create a preset from scratch, you may need to set the Unsharp Masking to 0 to assure this is not applied.
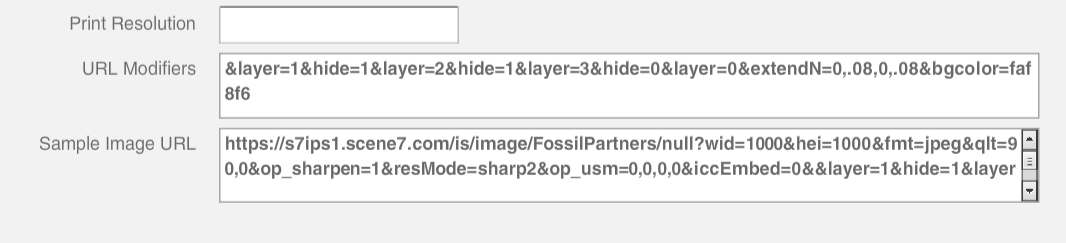
Print Resolution controls the resolution of the image when it’s printed. You can set this or leave it empty to disable.
And finally, the URL Modifiers. This is where we make most of our changes for Fossil. In this case, I’m hiding layers 1 and 2 and displaying layer 3 of the *.PSD. I’m also changing the canvas color (layer 0) to #faf8f6
Please refer to my Scene7 URL Parameters document for a list of available parameters you can put here. (Note: The order you put these do count!)
Sample Image URL shows you what the URL would look like if these presets were included in the URL. This section is editable, but it’s harder to read and edit than the URL modifiers above.
Save.
Hopefully, your work will take. However, many times I’ve reopened my preset only to find my changes were missing.
If all went well, these URL modifiers can be applied to any Fossil image on Scene7 with the format: $preset name$
Example:$sfcc_fos_hi-res$
https://fossil.scene7.com/is/image/FossilPartners/FS5657_main?$sfcc_fos_hi-res$Testing
Make sure to test your preset extensively before you either change the Scene7 settings in SFCC or before copying the changes to the live version of the preset.
I like to search/replace in dev tools in my browser to make sure all images are working with the preset. Be sure to test PLP, PDP, cart, checkout – anywhere the image and preset will be utilized.